 Skip to content
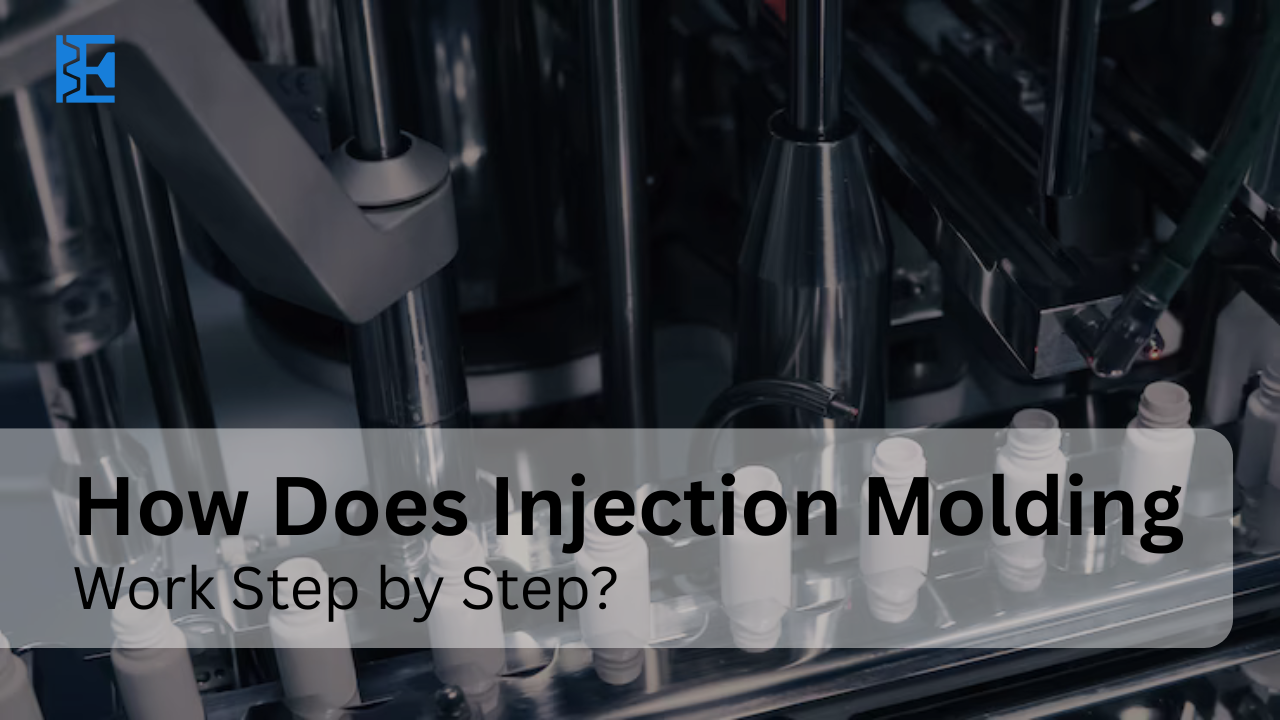
Much of today’s plastic parts are made in volume by injection molding. But how does injection molding work step by step? In this guide, we’ll walk you through each phase of the plastic molding workflow, providing clear explanations, relevant statistics, and tips to understand the full molding cycle overview.
Whether you’re a beginner or an industry professional, this blog will help you grasp the complete injection molding process explained in detail.
Getting Familiar With Injection Molding Parts and Process
Parts are made during injection molding by injecting materials into a mold at a high temperature. Most of the time, it is used to form plastic parts, even though it can also be used with metals and glass in certain cases.
The research firm Grand View assessed that the global plastic injection molding market had a value of $265.1 billion in 2022 and is predicted to expand at a CAGR of 4.8% during the next seven years. It proves how much the process matters in fields such as automotive, electronics, and consumer goods.
Key Benefits of Injection Molding
- Mass production is done with optimal efficiency.
- Prediction results that do not vary
- Low waste
- Design flexibility
- Repeatable results
Because of these perks, injection molding is most often chosen for manufacturing thousands—or even millions of the same part.
How Does Injection Molding Work? A Step-by-Step Guide
Let’s look into how injection molding works step by step, so you can clearly understand the full cycle.
1. Securely Clamp the Mold onto the Form
An injection mold is made up of two halves, called the core and cavity, which are fastened to the clamping unit. The first step to start is to firmly clamp both members with hydraulic or mechanical power. Therefore, the mold is sealed tightly before injection takes place.
2. Injecting the Material
In most cases, plastic pellets (usually thermoplastics) are melted into a liquid by heating them in a barrel. After that, a pressurized screw or ram forces the molten plastic into the mold area. This is where the precision of the plastic molding workflow plays a critical role.
3: Dwelling (Packing)
Right after the mold is filled, pressure remains for a short duration to fit the material and make up for its shrinkage. This helps the last part come out even and without any air gaps or dents.
4. Cooling.
Cooling is one of the most crucial stages of injection molding. The mold is not opened until the plastic becomes solid inside. This usually happens because water or coolant carried along special channels inside the mold cools it. How long the part needs to cool depends on what the part is made from and how thick the material is.
5. Mold Opening.
As soon as the part solidifies and cools down, the mold opens so that the core and cavity separate, and you see the finished item.
Final Step: Ejection
With the help of an ejector system, the mold releases the part after it has cooled. Pressure from the back of the mold is created using pins or plates to help the product be released. The village is ready to start the process once more.
Important Things about Injection Molding Machines
To understand the molding cycle overview, it helps to know the machine parts:
- Hopper: It is in charge of holding the plastic pellets that are used.
- Heated Barrel: The barrel quickly warms to melt the pellets inside.
- Injection Unit: This component pushes molten plastic into the mold.
- Clamping Unit: This is the part that holds the mold together as injection happens.
- Ejection Systems: The Ejector System removes the part after it has been welded.
All the parts play a role in helping the machine cycle as quickly and well as possible.
Comparison Table: Injection Molding vs. Other Methods
| Feature | Injection Molding | 3D Printing | Blow Molding |
| Production Volume | High (1000s to millions) | Low to medium | Medium to high |
| Speed | Fast | Slow | Fast |
| Initial Cost | High | Low | Medium |
| Unit Cost | Low | High | Medium |
| Material Usage | Efficient | Often wasteful | Efficient |
| Complexity of Parts | High | High | Medium |
Top Uses of Injection Molding
- Automotive: Automotive parts include bumpers, dashboards, and interior panels.
- Electronic Consumer: Toys, containers, and the casings of electronics are examples of consumer goods.
- Medical: Syringes, different kinds of medical devices, and housings
- Industrial: These applications use gears, enclosures, and different types of structural parts.
These applications benefit from the speed and precision that the plastic molding workflow allows.
Final Thoughts
Understanding how does injection molding work step by step allows manufacturers, engineers, and product designers to make informed decisions about plastic production. From clamping to ejection, each step in the injection molding process explained here contributes to high-quality, scalable output.
Whether you’re analyzing stages of injection molding for a new project or refining your manufacturing process, a deep understanding of the plastic molding workflow is essential.
FAQs About How does Injection Molding Work Step by Step
1. What are the usual materials employed in injection molding?
The usual choices for materials are polypropylene (PP), polyethylene (PE), acrylonitrile butadiene styrene (ABS), and polystyrene.
2. What is the standard duration for injecting products using injection molding?
Usually, a cycle takes between 15 and 60 seconds, which depends on how complex the part is and the type of material used.
3. Is this method still affordable for making just a few pieces?
Not typically. Producing in bulk is recommended, since creating molds can be very expensive.
4. For how long can an injection mold be used?
Steel molds are made to last for over 100,000 cycles, but aluminum molds need to be replaced after 5,000–10,000 cycles.
5. What is the difference between injection molding and 3D printing?
Injection molding is preferred for large-scale production and strong results, but 3D printing is better for one-of-a-kind and custom pieces.